
Beginner Hiking Photography Gear Guide
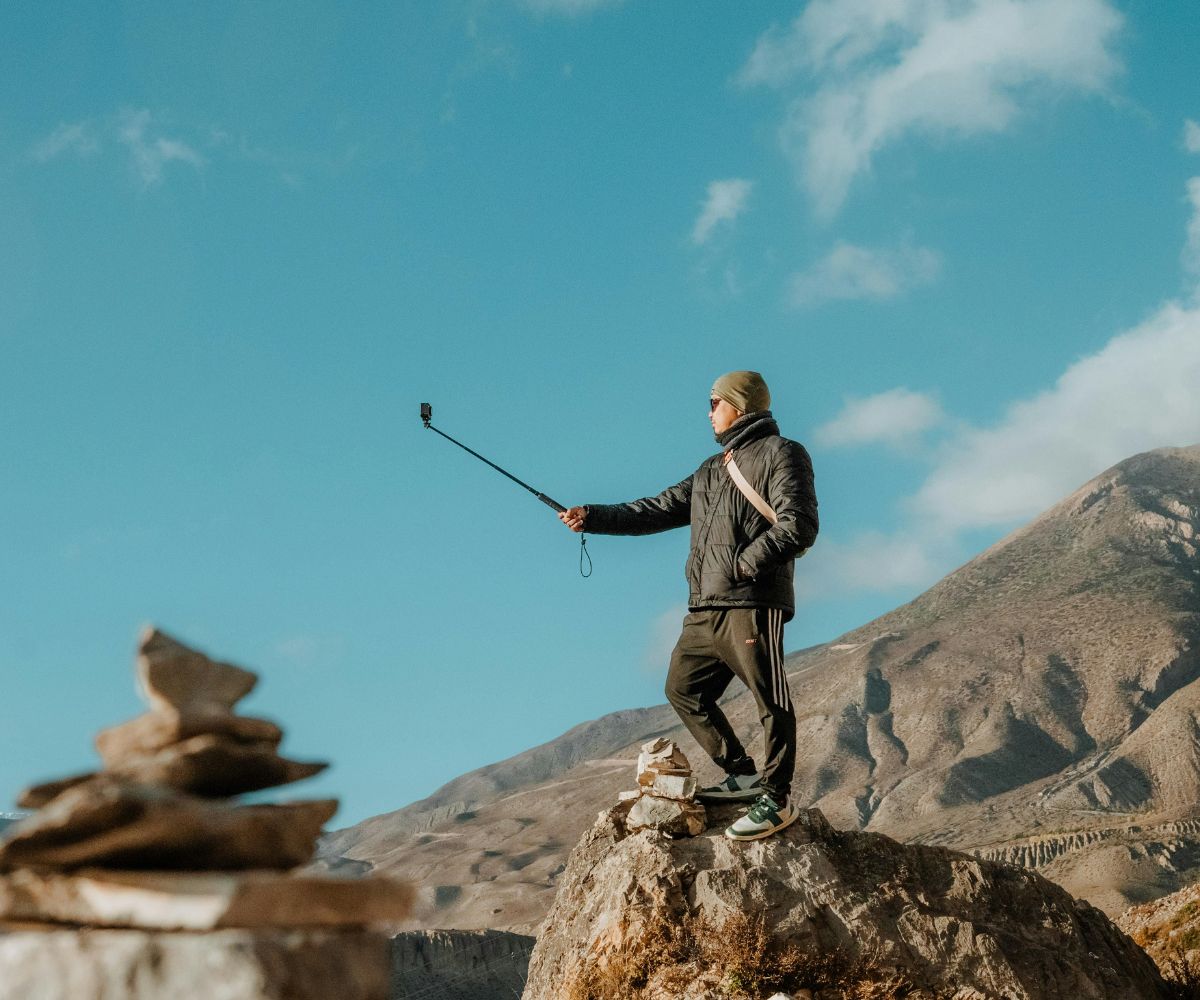
The first thing which comes to mind while hiking is capturing attractive photos. For a beginner, it may be both thrilling and challenging to start beginner hiking photography.
Random hikers either over pack heavy equipment or follow any gear lists without looking into what the trail conditions are. The consequences ? Missing beautiful sunrise opportunities, dead batteries, and uncomfortable hiking trails.
This Beginner Hiking Photography Gear Guide makes everything easy and helps you in figuring out what to take on trails. With the right approach, you can create a light hiking photography gear that will make the idea of hiking better instead of harder.
Why Hiking Photography Needs Smart Gear Planning
Hiking is not the same as general photography. On challenging trails, you have to deal with:
- Extended walking times
- Wind and terrain
- Unpredictable weather
- Limited charging points
It was during a freezing morning hike that I learned this the hard way. My battery drained much faster than usual. Since then, I never step onto a trail without two extra batteries. I keep them inside my jacket pocket so they stay warm.
Small practical habits like this can save your entire shoot.
If you are new to hiking photography, keep your setup simple and light. Carry less stuff and enjoy the trail.
Basics of hiking photography
Many beginners jump straight to buying equipment. I did the same in the beginning. But learning a few things makes a big difference. These hiking photography basics also act as practical outdoor photography tips when you’re out on nature trails.
Exposure Triangle
Every beginner should know:
- Aperture
- Shutter Speed
- ISO
For landscapes, use f/8-f/11. It adds depth of field, so more of the view doesn’t go out of focus. Keep ISO between 100–400 in daylight for cleaner images.
Shoot in RAW Format
RAW files capture more dynamic range. This helps recover details in bright skies and dark shadows during editing.
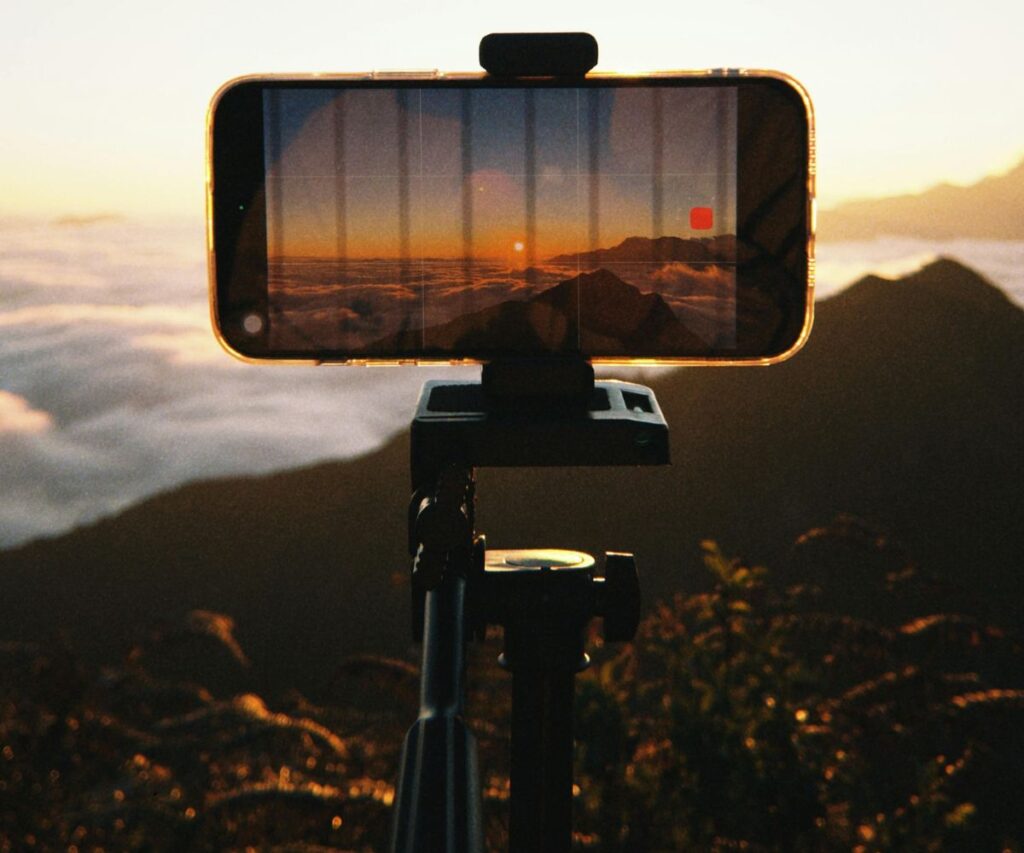
Use Golden Hour Light
In the morning and evening lights, the shadows and natural colors are softer. This is one of the most important mountain photography basics for beginners.
Stability Matters
For better picture quality, the stability of the camera is important. Lightweight tripods that can vibrate on winding mountain trails. One of the simplest methods is to use a tripod to hang your backpack and add more stability.
Essential Beginner Hiking Photography Gear
Now let’s build a practical hiking photography kit.
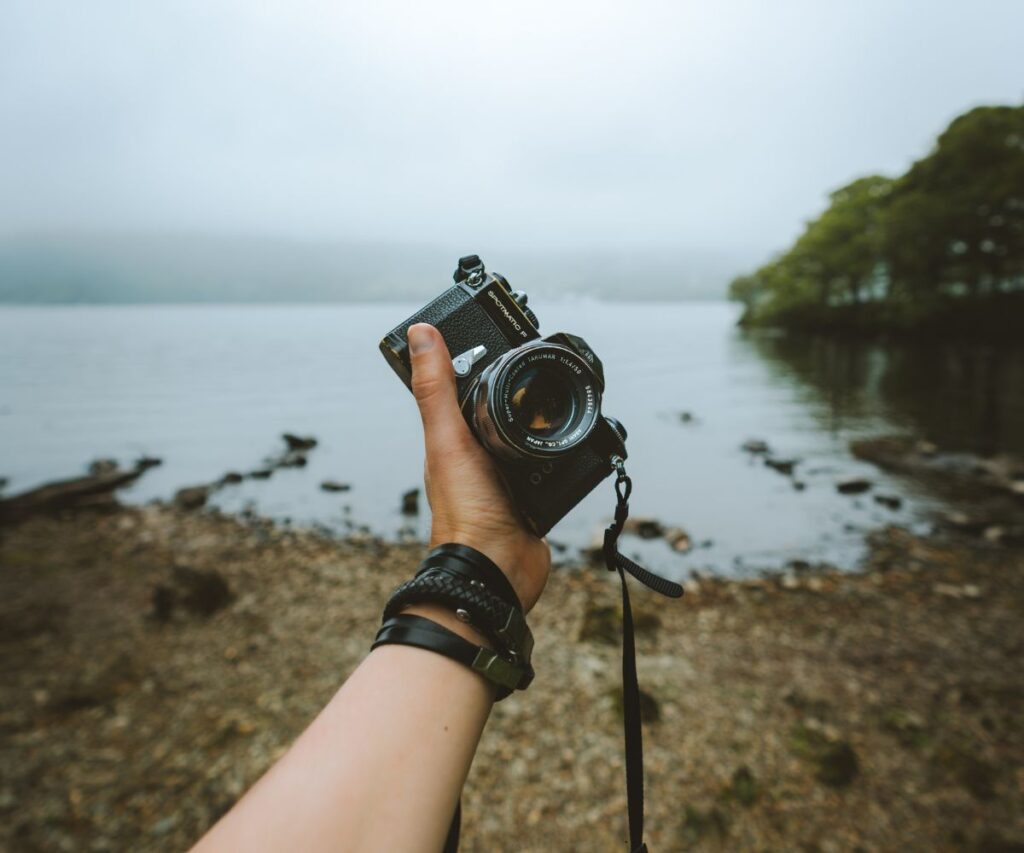
Beginner’s Camera Choices
Sometimes you don’t need professional gear to start.
Mirror less Camera
Lightweight and ideal for hiking. Many models include image stabilization and strong dynamic range performance.
Entry-Level DSLR
Excellent image quality, but slightly heavier than mirrorless options.
Smartphones
A good smartphone is enough to practice framing and light before investing in advanced gear.
Lens for Trail Photography
Only carry one versatile lens to keep your set-up efficient and straightforward.
- Wide-angle (16–35mm) for landscapes and expansive mountain scenes
- Standard zoom (18–55mm or 24–70mm) for flexibility on the trail
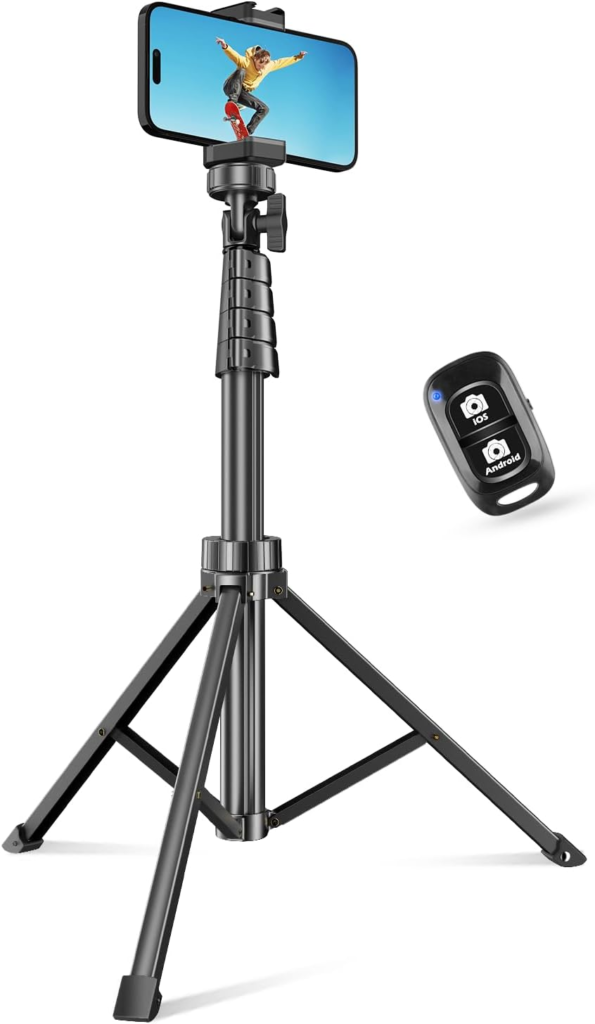
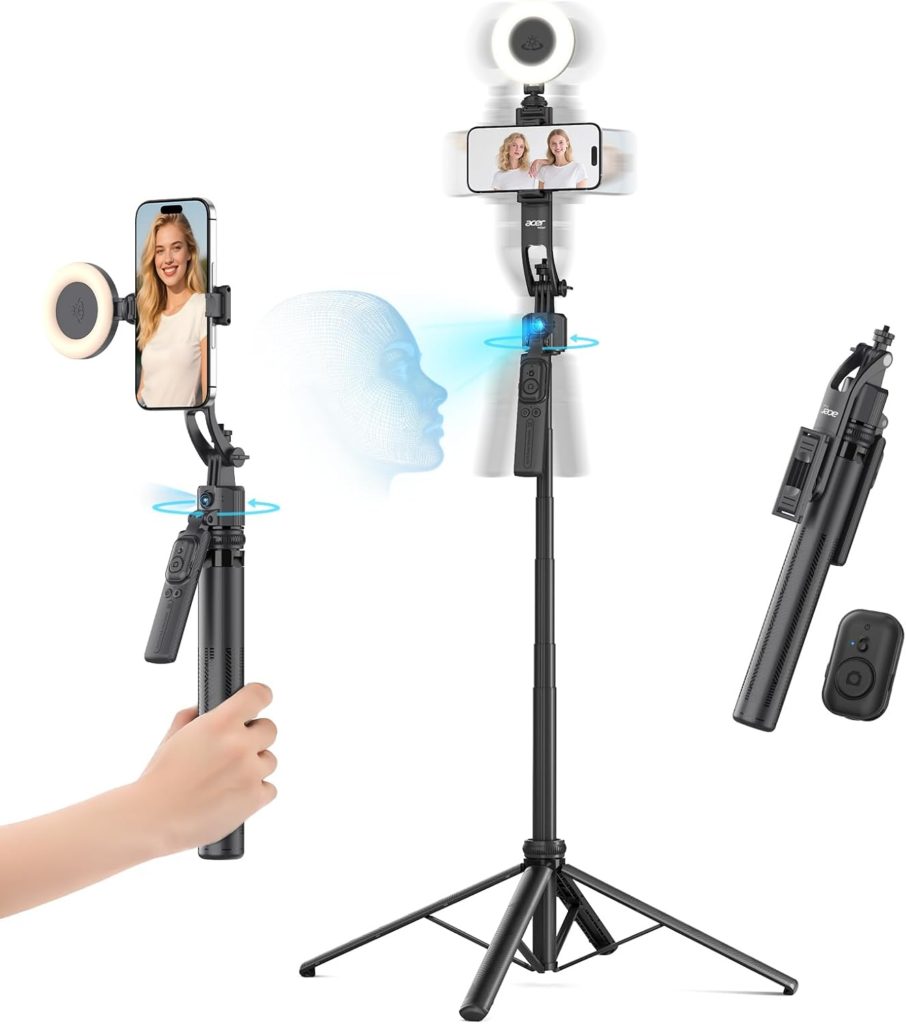
Lightweight Travel Tripod
A compact tripod weighing under 1kg is good. It helps during:
- Sunrise and sunset photography
- Waterfall photography
- Long exposure shots
- Opt for stability, not the very cheap models
During one windy mountain hike, my lightweight tripod kept shaking. Since then, I always hung my backpack for extra stability.
Recommended Products-
Power and Storage Essentials
The cold weather decreases battery performance. Always carry:
- 2 spare batteries
- 2 memory cards
- Small power bank
These are things that cannot be compromised with any beginner hiking photography.
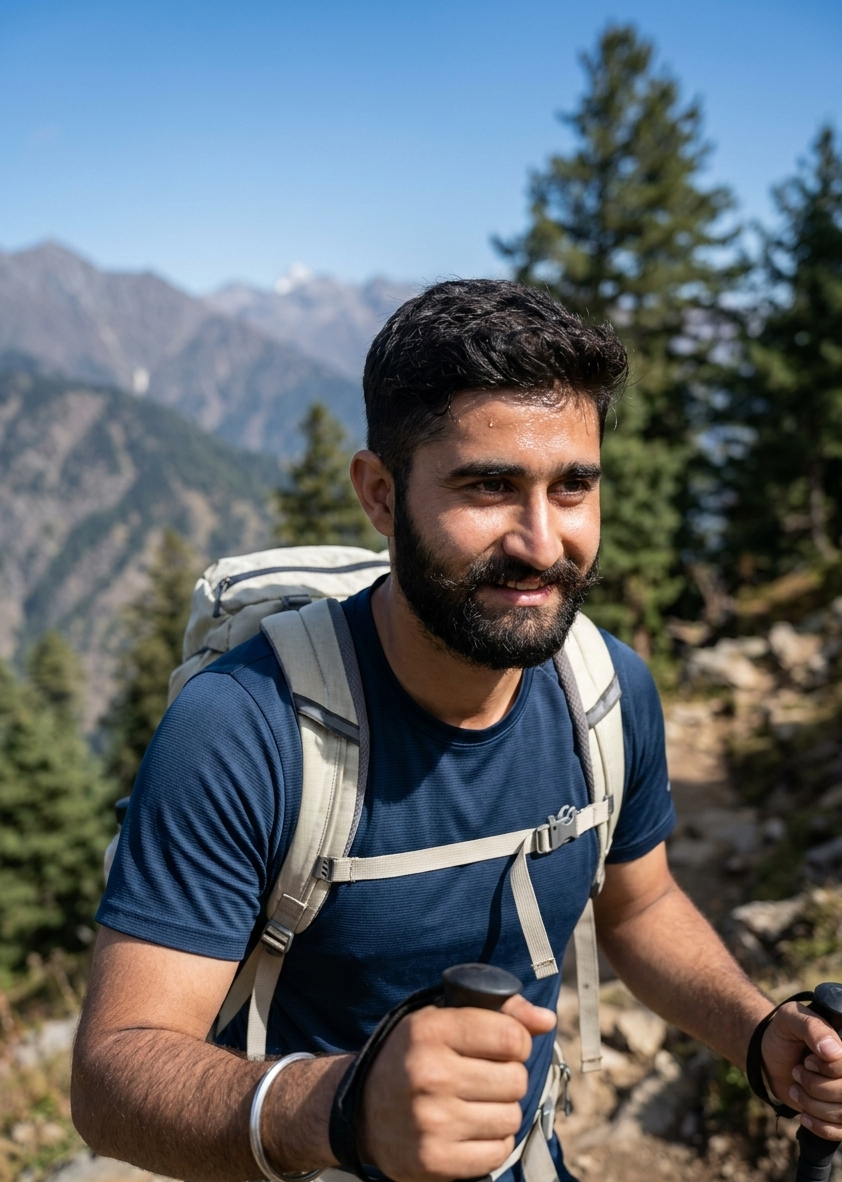
Hiking Friendly Camera Backpack
Look for:
- Padded compartments
- Rain cover
- Chest and waist straps
- Proper weight distribution
- Keep heavy items against your back for balance.
Cleaning and Protection Kit
Outdoor conditions include dust & moisture.
Carry:
- Microfiber cloth
- Lens blower
- Small cleaning brush
Clean lenses reduce image blurring and increase image clarity and sharpness.
Beginner Budget Setup Example
If you want a simple starting point:
- Entry-level mirror less camera
- 18–55mm kit lens
- Lightweight tripod
- 20L hiking backpack
- 2 spare batteries
- Memory cards
- Cleaning cloth
This setup covers most beginner camera needs without unnecessary weight.
Safety and Responsible Hiking Photography
Photography should never risk your safety.
- Check the weather before leaving
- Inform someone about your route
- Carry enough water bottles and dry fruits
- Wear proper hiking shoes
- Respect the wildlife and trail rules
This guide is for educational purposes. Always prioritise safety over capturing a photo.
Common Mistakes to Avoid
Choosing the right trail photography gear is about balance, not quantity.
- Ignoring weather forecasts
- Forgetting spare batteries
- Shooting only at eye level
- Not understanding the light direction
Improvement comes from practice, not from buying expensive gear.
Final Thoughts
This beginner Hiking Photography Gear Guide covers all important tips: ideas of lightweight hiking photography gear, and personal trail experience. To be successful at beginner hiking photography, you should have knowledge about hiking photography fundamentals and also its equipment.
Last but not least, photography is an art that requires patience. And nature is full of rewards for the consistent photographer!
FAQs
1. Which is the best camera for beginner hiking photography?
The best camera for beginner hiking photography should be lightweight and not take too much space in general. You can prefer Sony a7R III and a7R II. But also, good photography androids can be used for hiking photography.
2. How much trail photography equipment should beginners bring?
A beginner should bring only the necessary trail photography equipment, such as a lightweight camera, a single versatile lens, batteries, memory cards, and a lightweight tripod for balance
3. Why should beginners shoot in RAW format?
The dynamic range of RAW files is larger, and this makes editing easier and results in better images.
4. Do beginners need weather-sealed equipment?
Weather-sealed equipment is great in rainy or dusty conditions, but rain covers work for beginners.
Rajat Pathania is a hiking enthusiast who studies trails, hiking safety, and outdoor preparation. He shares practical insights based on field experience, gear testing, and research about trekking conditions. His work focuses on helping hikers understand trail planning, safety practices, and essential hiking skills for better outdoor trips.